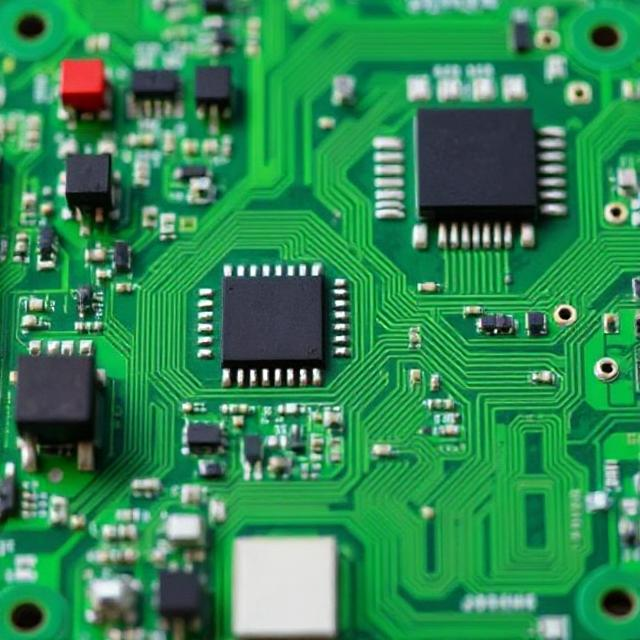
Soldering is a process used to join electronic components together by melting a metal (called solder) to create a solid connection between them. It’s an essential skill for building and repairing electronics, and it’s a lot like using glue, but with heat and metal. Here’s a simple guide to understanding basic soldering techniques:

1. What You Need for Soldering
To get started with soldering, you need a few basic tools:
- Soldering Iron: A tool that heats up and allows you to melt solder. The tip of the iron gets hot and is used to apply heat to the parts you want to solder.
- Solder: A metal alloy (usually a mix of tin and lead, or lead-free) that melts when heated and flows into the joints to create a connection.
- Soldering Iron Stand: A safe place to rest your soldering iron when you’re not using it.
- Soldering Iron Tip Cleaner: A sponge or brass wire to clean the tip of your soldering iron to ensure it works well.
- Tweezers: Used to hold small components in place while soldering.
- Wire Cutters: Used to cut the extra leads of components after soldering.
- Desoldering Pump: If you make a mistake, you can use this tool to remove solder.
- Safety Glasses: To protect your eyes from any hot solder or fumes.
- Soldering Flux: Helps to clean the metal surfaces and improves the flow of solder.
2. Steps to Solder
Here’s a simple step-by-step guide to soldering:
Step 1: Prepare the Soldering Iron
- Turn on the soldering iron and wait for it to heat up. It usually takes a few minutes. The ideal temperature for most soldering tasks is around 350°C (662°F).
- Clean the tip of the soldering iron with a damp sponge or a brass wire sponge. This removes old solder and dirt so that the iron makes good contact with the metal parts.
Step 2: Prepare the Components
- Insert the components into the circuit board. For example, if you’re working with a printed circuit board (PCB), insert the legs of the components into the holes.
- Bend the legs of the components slightly to hold them in place.
- Make sure the board is clean and free from dust or oil. You can use isopropyl alcohol to clean it if needed.
Step 3: Heat the Connection
- Place the tip of the soldering iron on the lead of the component and the copper pad on the PCB at the same time. Hold it there for about 1-2 seconds.
- This heats up both the lead and the PCB pad so that the solder can flow smoothly onto the connection.
Step 4: Apply Solder
- Feed the solder wire into the joint. As soon as the lead and pad are hot enough, the solder will melt and flow into the joint.
- Remove the solder wire and then quickly remove the soldering iron.
- The solder should look like a small, shiny, and smooth “blob” around the joint. If the joint looks dull or cracked, you may need to reheat it and add a little more solder.
Step 5: Check the Joint
- Inspect the solder joint to make sure it’s strong and shiny. A good joint should look smooth and have a “volcano” shape, like a small mountain.
- Make sure the joint is not too big or messy, and avoid creating a “cold joint,” which occurs when the solder doesn’t melt properly and looks rough or cracked.
Step 6: Trim the Leads
- Once the solder has cooled (which happens very quickly), use wire cutters to trim any excess leads that are sticking out from the component.
3. Common Soldering Mistakes to Avoid
Here are a few mistakes to watch out for:
- Cold Joints: These occur if the solder doesn’t melt properly, making the connection weak. It usually happens if you don’t heat the parts long enough or don’t use enough solder.
- Excessive Solder: Too much solder can cause short circuits or make the joint messy. Use just enough to cover the joint.
- Bridging: This is when the solder connects two pads that shouldn’t be connected, causing a short circuit. Be careful and check for bridges between components after soldering.
- Overheating Components: Holding the soldering iron on the component for too long can damage it. Just a few seconds of heat is usually enough.
4. Tips for Better Soldering
- Use the right amount of solder: Less is often more. Too much solder can cause problems, but too little can lead to weak connections.
- Work in a well-ventilated area: Solder can release fumes, so make sure you are in a space with good airflow or use a fan.
- Clean the tip regularly: Keeping the soldering iron tip clean ensures better heat transfer and longer life for the tool.
- Practice: If you’re new to soldering, it’s a good idea to practice on some scrap wire or a simple circuit before working on your actual project.
5. Safety Tips
- Always wear safety glasses to protect your eyes from hot solder or sparks.
- Be careful when handling the soldering iron, as it gets very hot. Always place it back in its stand when not in use.
- Avoid breathing in solder fumes. They can be harmful, so ensure proper ventilation or use a fume extractor.
Recap of Basic Soldering Techniques:
- Heat the parts with the soldering iron.
- Apply solder to the joint, not the iron.
- Inspect the joint to make sure it’s smooth and shiny.
- Trim excess leads once the solder cools.
Soldering might seem tricky at first, but with practice, you’ll get better at making clean, strong connections. It’s a valuable skill for anyone working with electronics, whether you’re building circuits, repairing devices, or creating DIY projects.
Keywords: Soldering, Electronics


